This is the first in a multi-part series as I build out my ‘dream smart workshop’. I am building a completely automated dust collection system and first up was to build out the dust gate ‘arm’ that can drive changes. A future post will cover the wireless networking/controls that I’m using to make it smart.
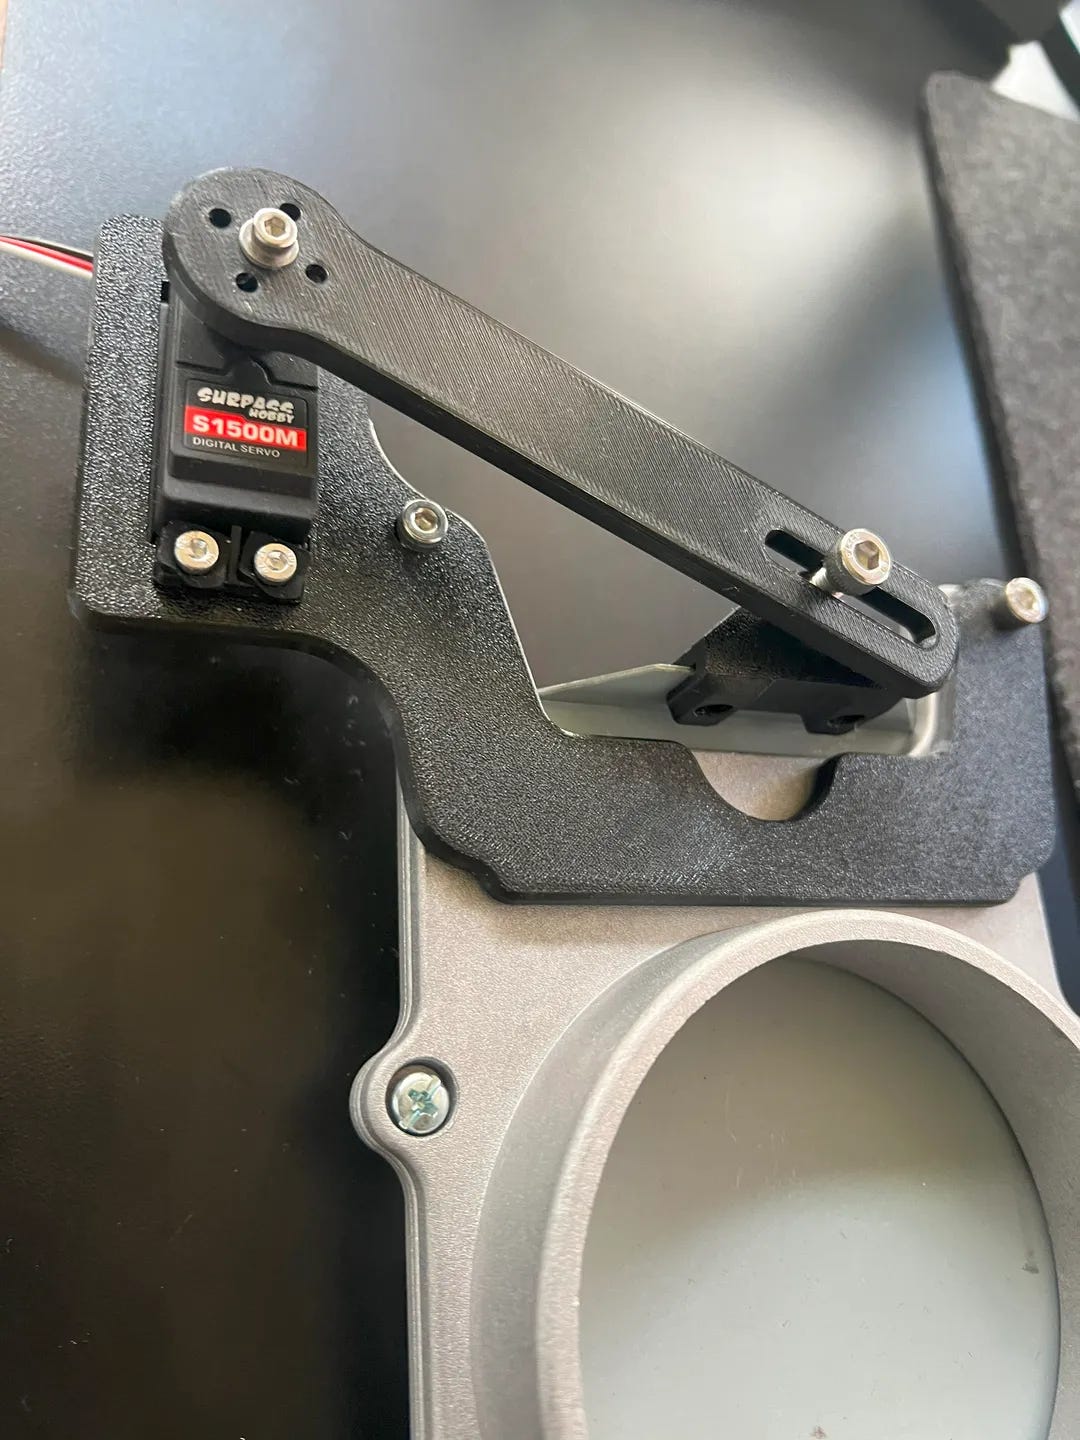
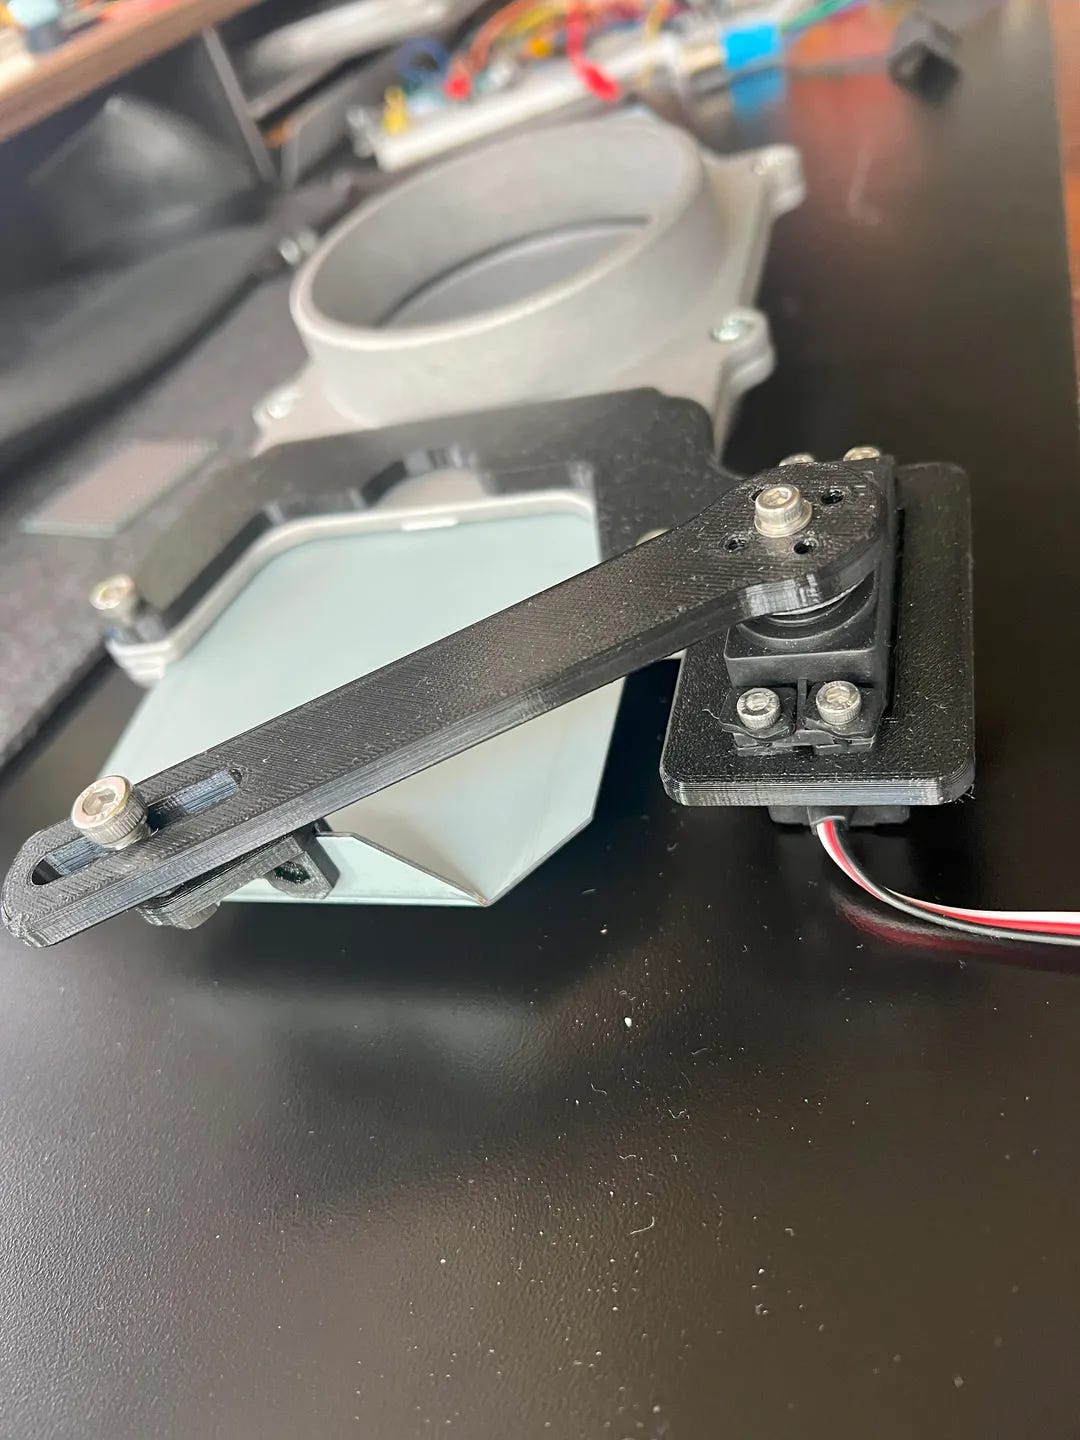
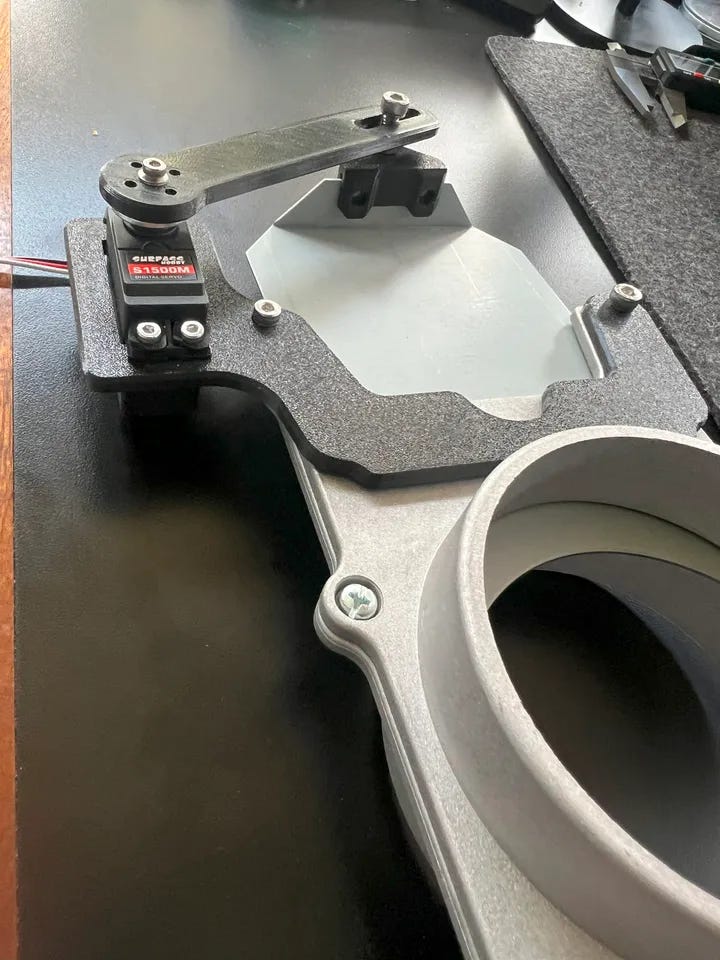
Below is a simple dust gate that can open/close using the servo motor mounted to the gate:
Bob from the YouTube channel I like to Make stuff has this great walkthrough for how to automate his dust collection system. Sennah91 created a replica that got started – and I've tweaked a few things so that you can purchase these exact items to rebuild. I'm working on a more advanced walkthrough to rebuild a completely wireless dust collection system.
Click here to download the 3D print files on Printables (free)!
Parts needed (note these are affiliate links):
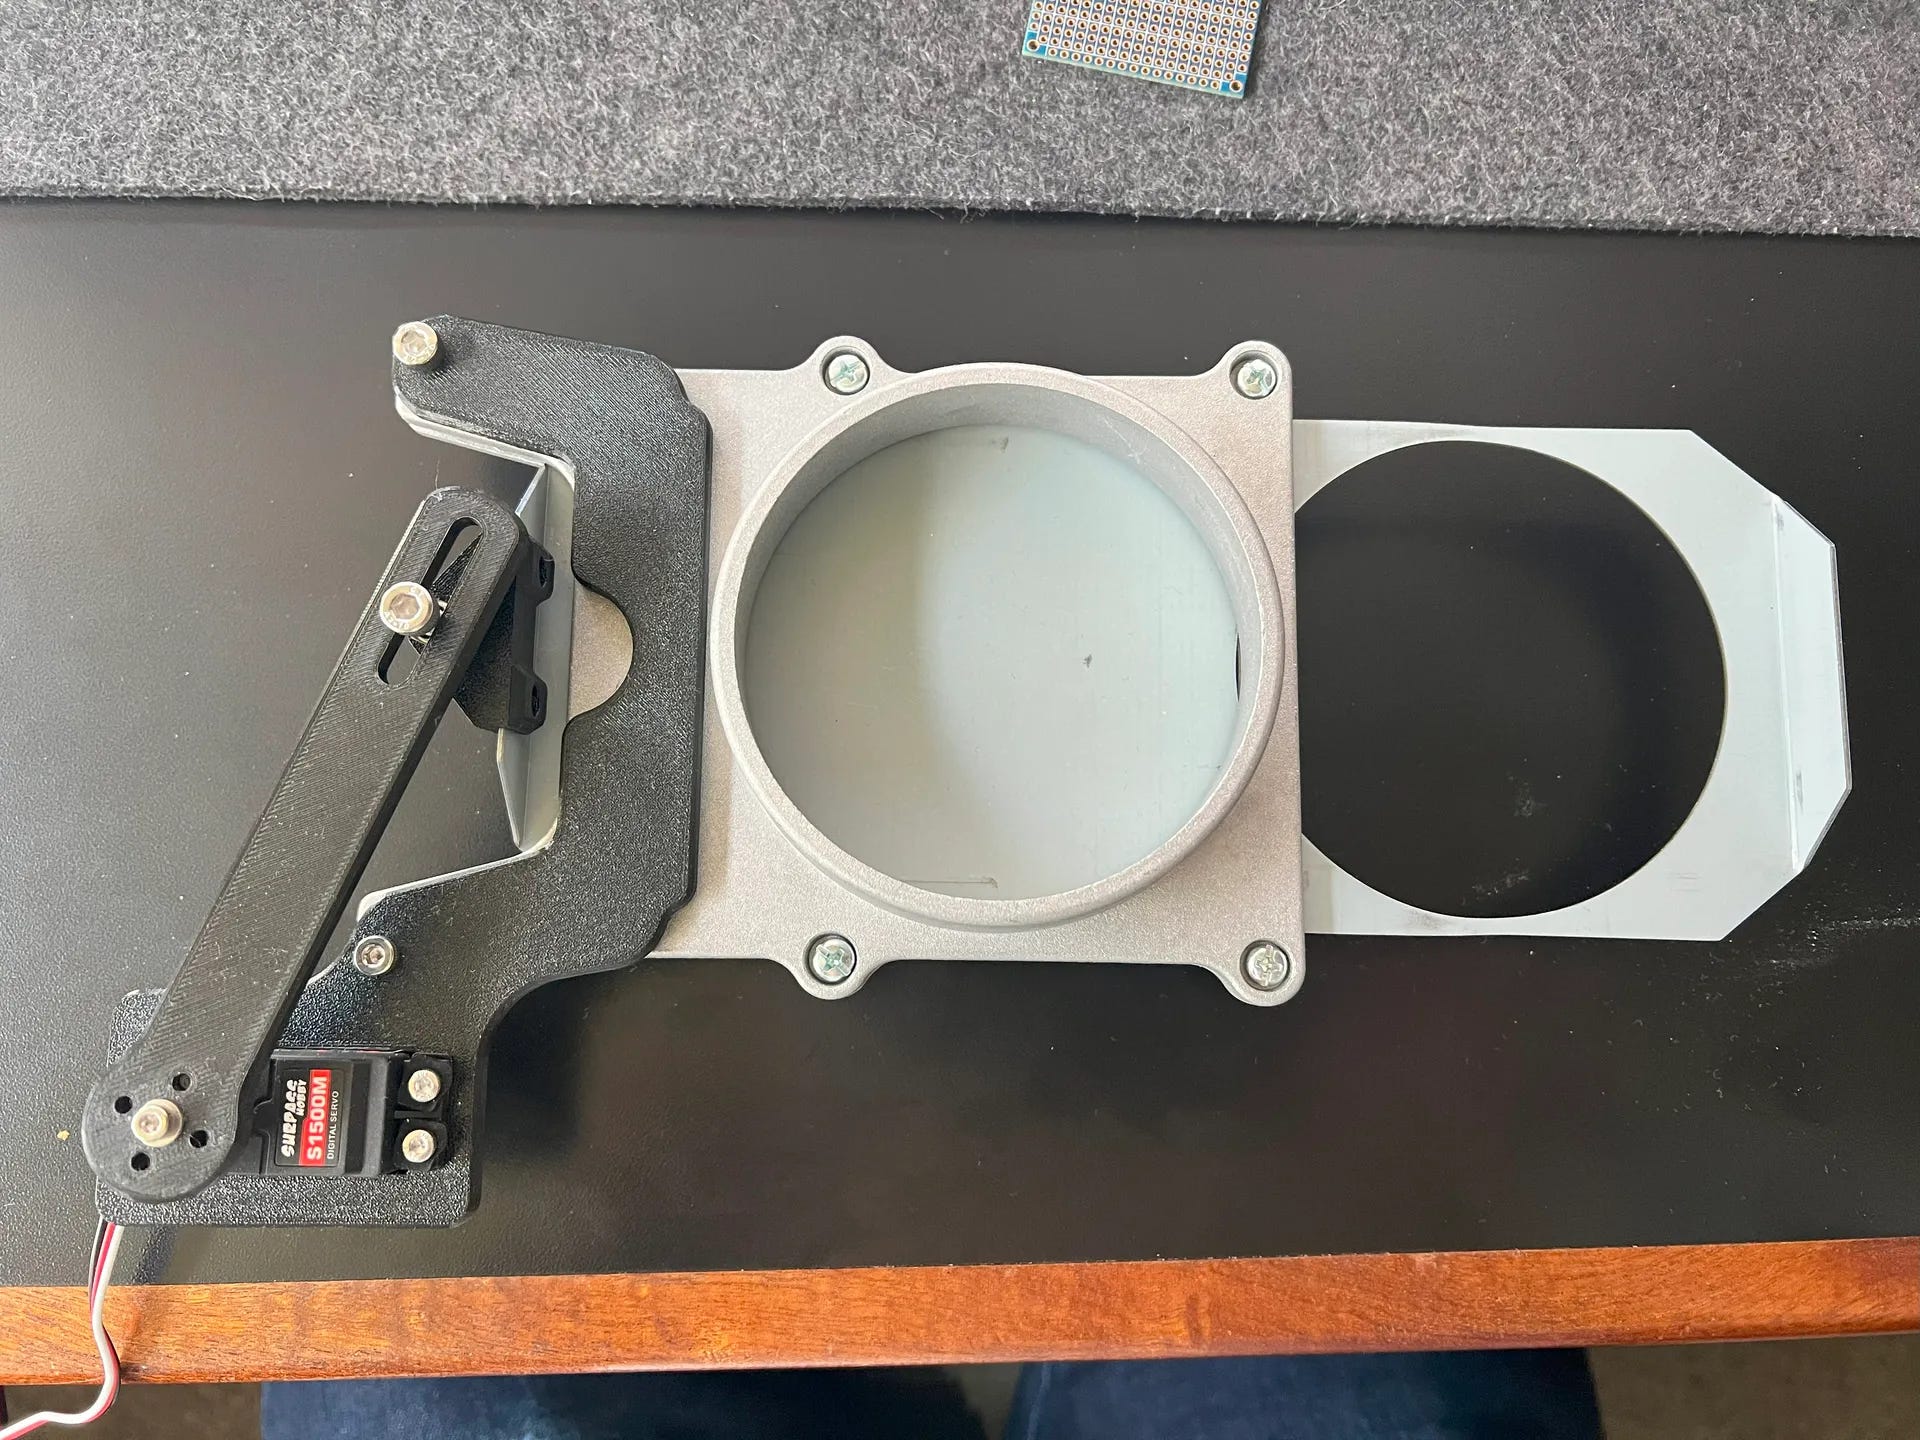
Print the 3 parts in PETG (Arm, Gate, Adapter) – I printed 0.2 with 50% infill
Servo: I use the S1500M - https://s.click.aliexpress.com/e/_DmAaSPj
Servo Horns - without these the servo will strip the printed parts
M5 Bolts/Nuts. A set like this will have you fully covered.
*Note on the gates — I strongly prefer the Onieda gates and only realized this after I had some of both. The Onieda gates only extend in one direction so they can be up tight against the wall; but I have both so and so linking both. Also the Onieda gates don’t require new screws to attach the arm. Make sure either way you print the 'arm’ that matches where the lock screw fits.
In the next update I’ll share a version that encloses the servo, makes room for a button, and has space for the parts needed to do wireless communication between gates.
Want to be notified when those posts land?
Note the product links are affiliate links.
Here are some pictures to help with the assembly.